Projects
About Me
Find Me
Portfolio
All Posts:
- Ham Radio: 9:4:1 Impedance Matching with a Homemade Autotransformer
- RISC Processor, Custom ISA, and compiler
- Newspaper Article: Competing in Science Olympiad
- Newspaper Article: Hosting a Learn to Solder Day at LASA Electronics Club
- Animated LED map of territorial expansion in the modern day German region + Road trip!
- Another Blog Post About This Blog (updates!)
- Updates and Future of the Blog
- MathMl: Easy Embedded Math in HTML (No extra libraries, browser supported!)
- Raymarching: Perfect Spheres and Easy 3D
- Never Write a Line of CSS Again
- Jinja is Awesome
- A Blog Post About This Blog
Animated LED map of territorial expansion in the modern day German region + Road trip!
2026-1-1
This was an animated map of the history of the German region made on a PCB running off of an ESP32 with adressable LEDs. In order to compile all of the data for the animation, I had to write a small web app to be able to catagorize the different territories throughout time.
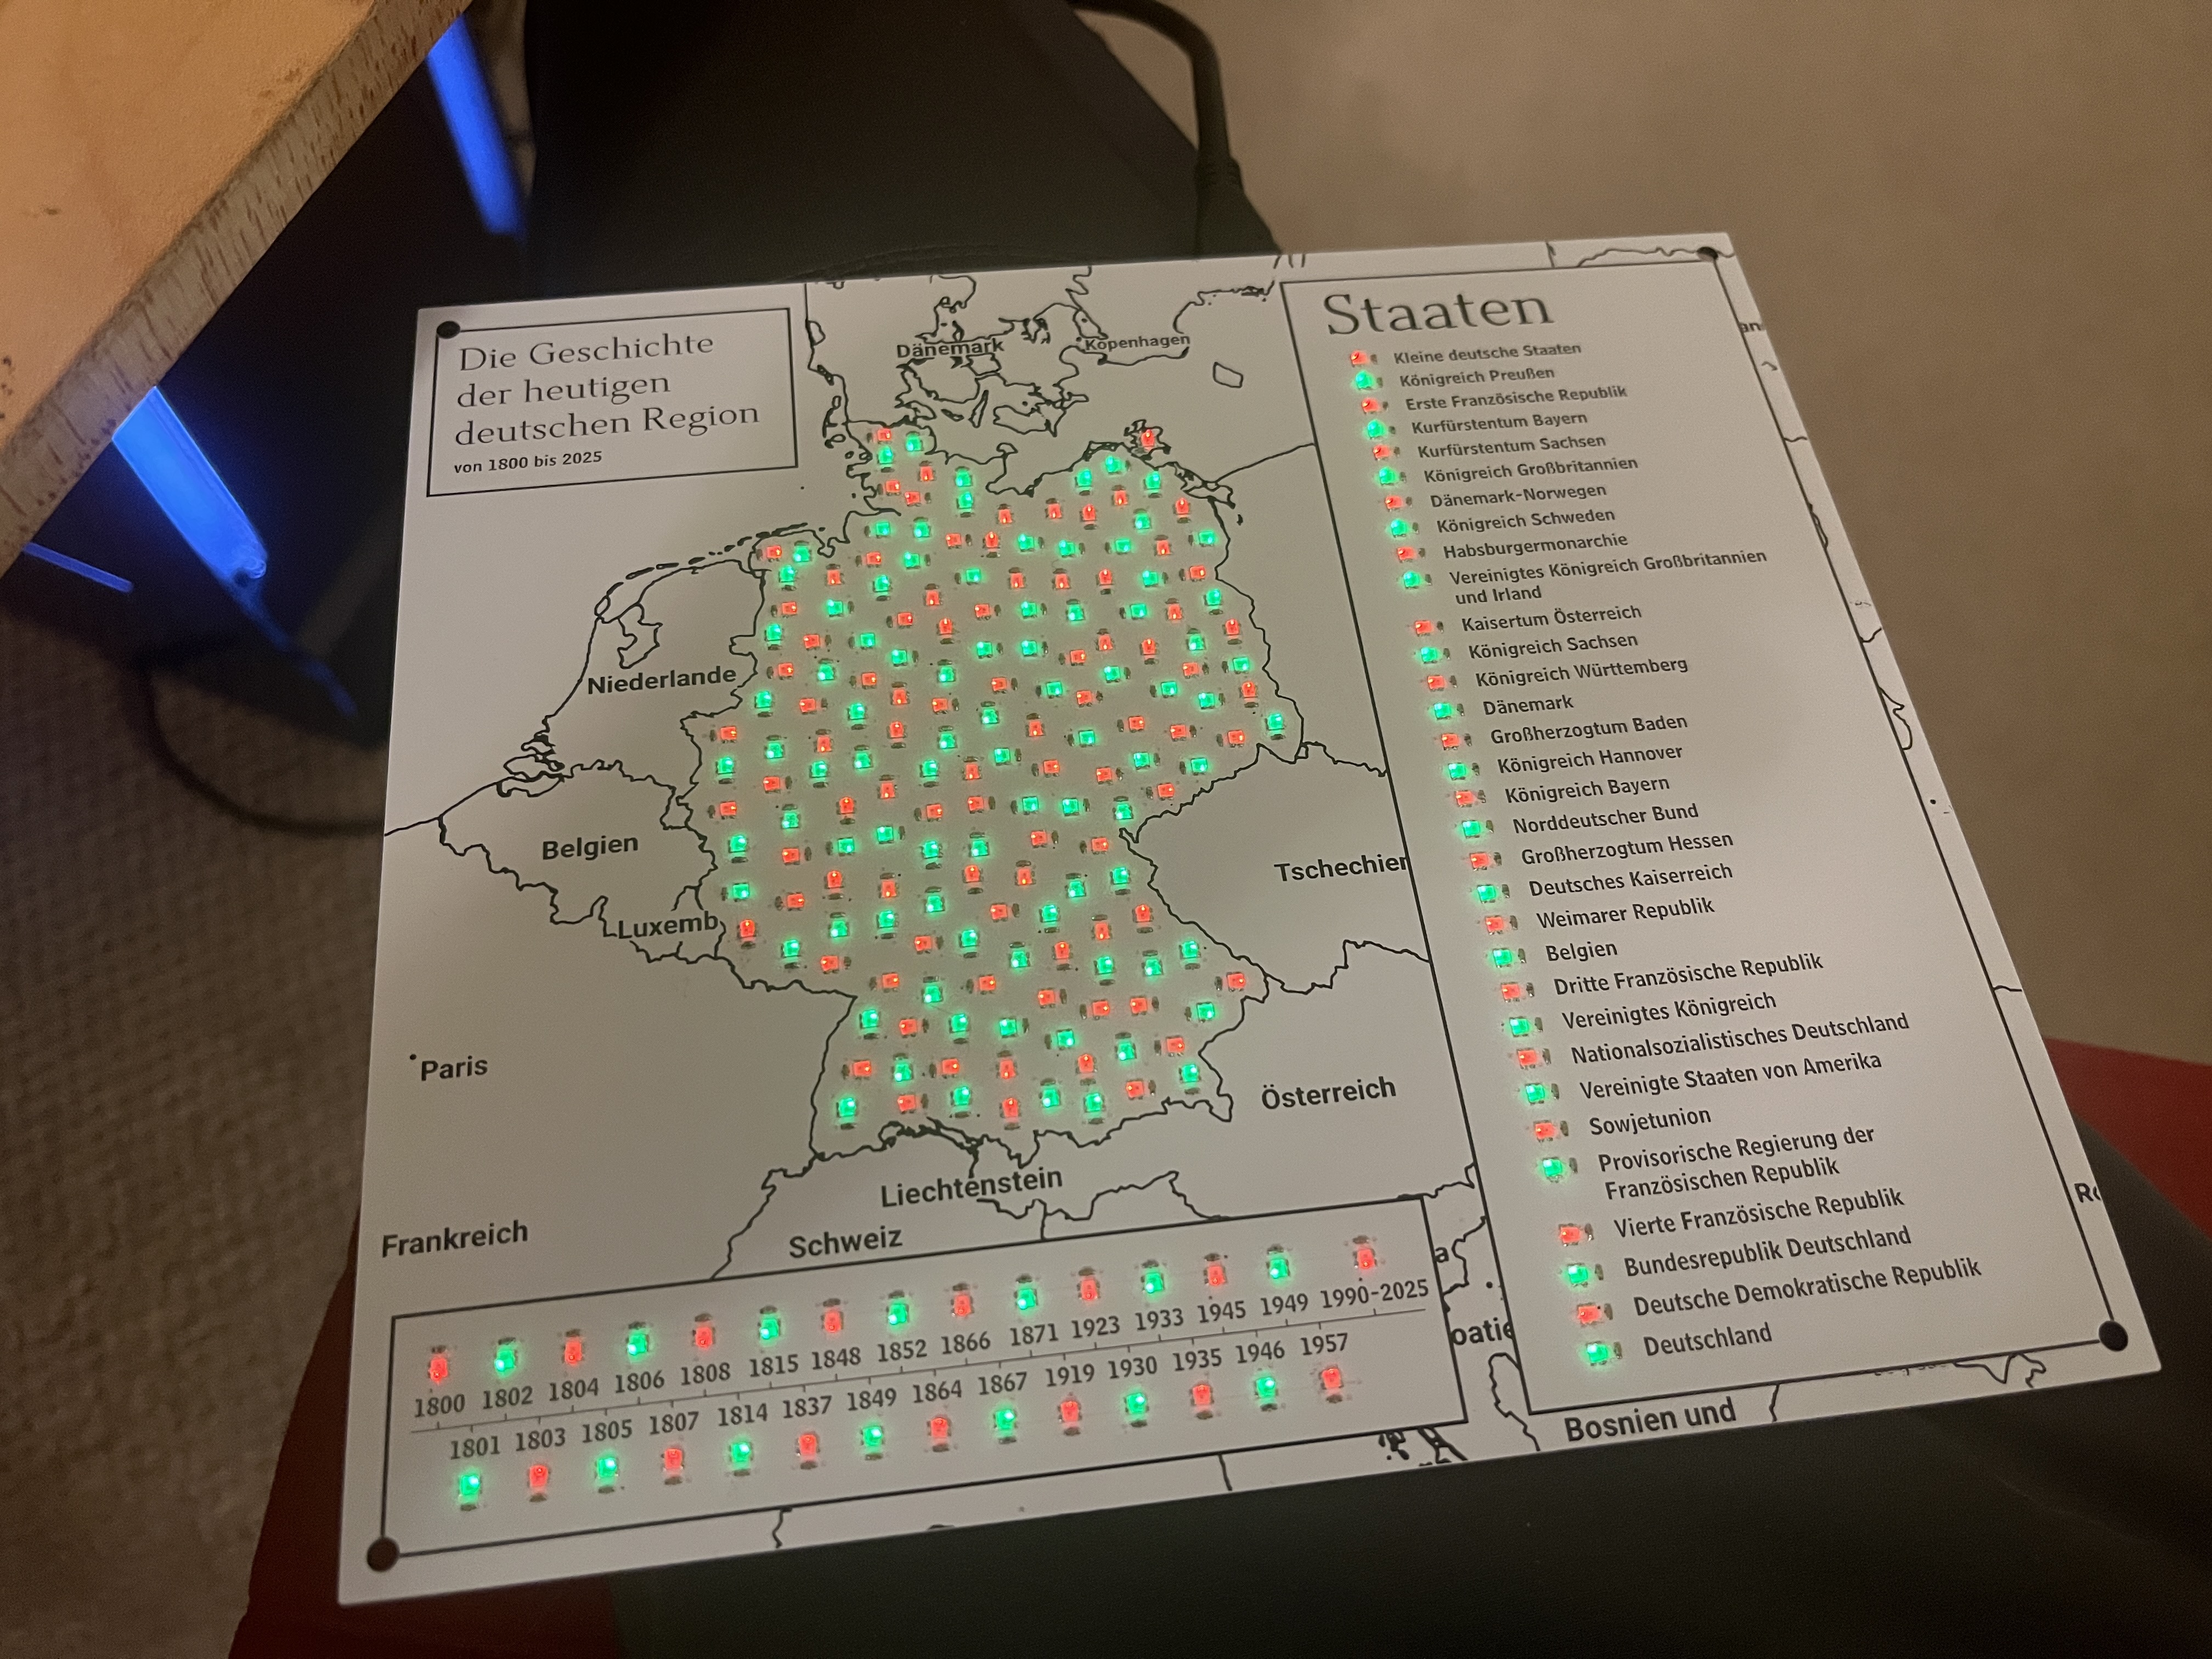
Each year, people in my German class will compete in a competition called Sprachfest, which is organized into many events such as declamation events (poetry/prose reading), written tests, and my personal favorite event: crafts. Last year I built a small shield with a custom coat of arms on it, which I'll do a short post about soon, but this year I wanted to do something that incorporated some of the electronics stuff I had been learning. I decided to do a map with LEDs scattered across it showing where different countries/empires/republics were in the modern-day German region from the year 1800 to today. I've linked a video of the finalized product below; there is a timeline on the bottom and a color key to the right (all country names are in German).
The idea to do an animated PCB map was largely inspired by these PCB subway maps you can find online.
Full animation
Video with commentary
Physical Design
The entire map was designed on a PCB using KiCad and manufactured by JLCPCB. The LEDs used were the WS2812-2020 LEDs, which I could get large quantities of cheaply off of AliExpress. These "addressable" LEDs can be chained, so you only need one pin on a microprocessor to drive them all. I believe these are the same LEDs used by Adafruit's NeoPixels, and they are frequently used in those long LED strips you can buy for your room or for ambient lighting. Since I would not have time to order a second batch of PCBs if the board failed, I wanted to keep the circuitry as simple as possible. I ended up using a Seeed Studio XIAO ESP32-C3 development board soldered to the back for controlling the LEDs.
In total, there were 235 LEDs and a decoupling capacitor for each. The power was simply hooked up with two large pads on the back, which I soldered with some wires to a switch and a DC barrel jack.
I got to gain some experience in using KiCad's Python scripting API in order to physically pair all of the LEDs with their corresponding capacitors from the schematics and later to rotate all of the capacitors 180deg once I realized I had placed them backwards (oops!).
Some small notes from the design:
-
Since all of the LEDs needed to be chained, I got to have some fun drawing a big snaking line throughout all of them in order to plan out the wiring (see 2nd image).
-
When I first wired everything, I frequently had decoupling capacitors that were not connected to a 5V rail remotely close to the component itself, which is where all of those little copper traces on the bottom come from trying to fix. (this took a real long time.)
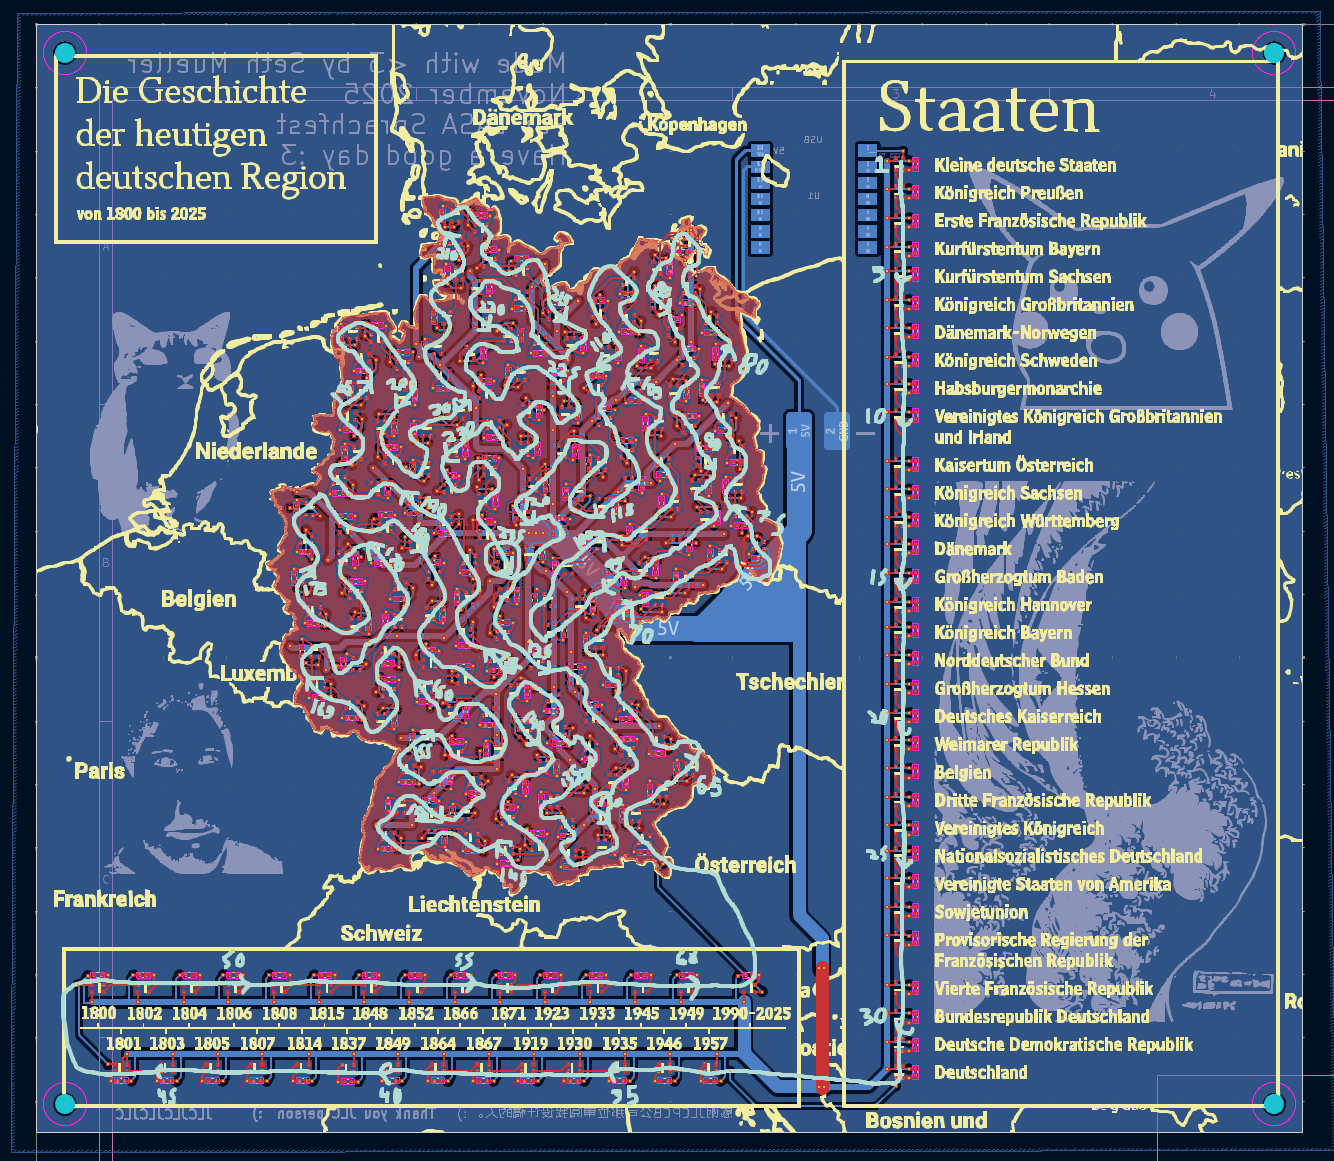 Final view of the PCB editor in KiCad
|
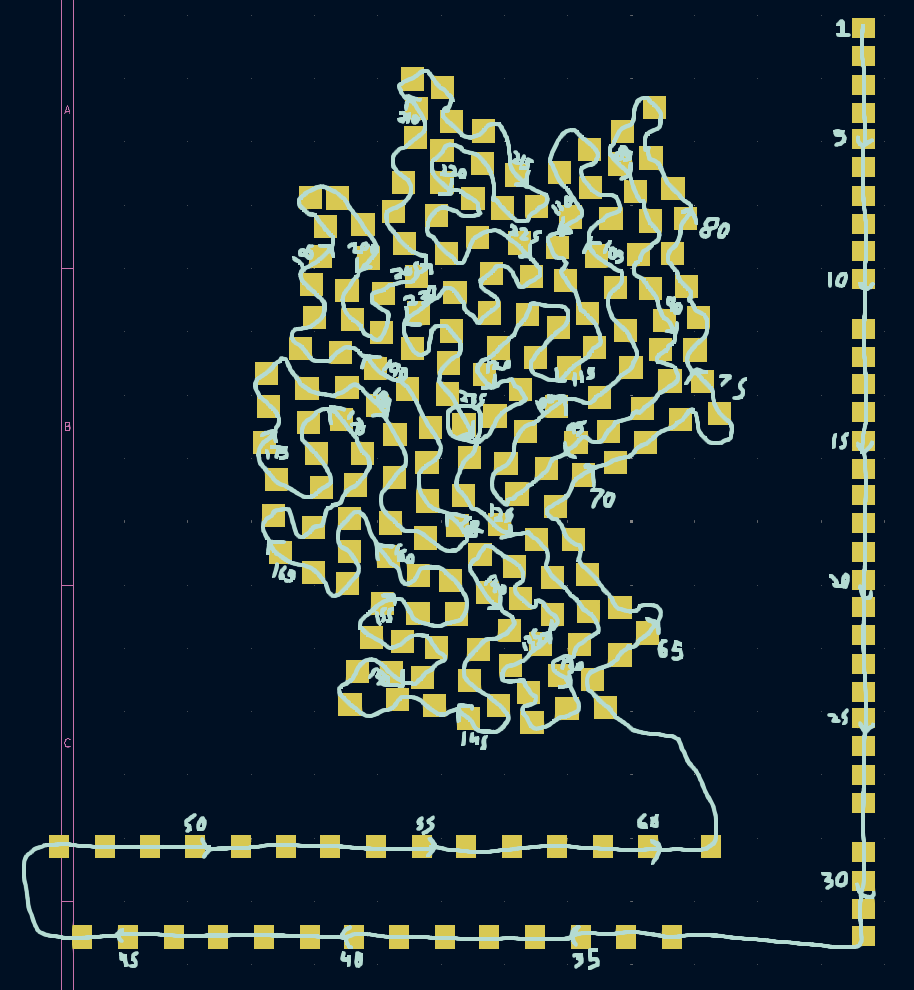 Drawn guides for placing LED footprints
|
Schematics
Note: PDF viewers may not work on mobile
(Use the +/- buttons to zoom untill words are visable)
PCB Layout
Layers in order of pages: Edge Cuts, F.Mask, F.Silkscreen, F.Cu, B.Cu, B.Silkscreen, B.Mask
Software
This spreadsheet was used throughout gathering the data and will be referenced throughout this section.
The only hard part of the software was gathering all of the data of which country occupied which LED for each year. Luckily, I found this YouTube video which showed a map of every year the territory in the region changed: History of Germany (since 57 BC) - Every Year. In order to turn the information in this video into data, I probably should have written some code to sample the color at each place where an LED was, but I thought that this may have gotten a bit finicky with there being text and border lines also on the map. Instead, I wrote a web app using JQuery with one checkbox for each LED, an area to select the current country you were categorizing, and screenshots of the map for each year behind. On the bottom was the timeline so you could click through the years.
Demo of the web app
Here's a quick video demo of the app:
Video outline:
- Categorizing Small German Nations (SGN)
- Switch to categorizing Kingdom of Sweden (KSW)
- Switch to categorizing Kingdom of Prussia (PRU)
- Show generated JSON object (I later changed this to have each year on its own line, as I was saving them in the spreadsheet like this)
You can try the app out online here (code on the GitHub). The background images won't load for the reason explained in the following paragraph, but otherwise everything else should work. There is data loaded for the first few years, and the JSON object will appear below once you click on one of the checkboxes.
Since this was over Thanksgiving break and I had been working on this throughout a road trip, I did not want to have to use the mousepad of my dad's laptop to click all 235 checkboxes for every year (I did quickly add a button to copy all of the data from the last year, as typically not much changed from year to year, but still), so I decided that I had to get it working for my school Chromebook, which had a touchscreen. Unfortunately, the Chromebooks are pretty locked down, and all of the online HTML/CSS/JS runners don't let you upload too many images. For whatever reason all of the image upload sites were blocked on the Chromebooks. I ended up putting all of the screenshots of the YouTube video in a Canva presentation and using the URLs it was using for the images (gotten from inspect page) to load them into the web app. These URLs did refresh after a few hours, but I only did the categorizing over three sessions or so, so I was alright re-copying the URLs of the screenshots of the years I was editing every now and then.
The web app put all of the data into a big JSON object, which I parsed with some Python code, Google Sheets tricks (see generated data tab in the sheet), and Vim macros (my fav) to get to the final array ready for C++ code. The final data saved was a 29x174 array (29 years and 174 LEDs on the main part of the map), with each value storing an index to which country an LED should display (see ID column of the first sheet).
The final code drove the LEDs with FastLED.h and simply looped through the years. I choose not to add any controls (pause/play, etc.) to keep it very simple for anyone who walks up to see it for the first time. I used the PlatformIO extension for VSCode to compile and put everything on the microcontroller.
The final code ended up looking like this:
data.h
#include <FastLED.h>

CRGB country_index_to_color[] = {CRGB(0, 255, 0), CRGB(255, 255, 255), ...};
int year_index_to_led[29] = {14, 13, 15,  ...}; // LEDs not wired in chronological order
int year_index_and_led_to_country_index[29][174] = {{3, 2, 3, 3, ... }};
main.cpp
#include <Arduino.h>
#include <FastLED.h>
#include "data.h"

#define LED_PIN     2           // Data pin number
#define NUM_LEDS    235          // Number of LEDs
#define LED_TYPE    WS2812B     // Your LED strip type
#define COLOR_ORDER GRB         // Color channel order

CRGB leds[NUM_LEDS];

void setup() {
  FastLED.addLeds<LED_TYPE, LED_PIN, COLOR_ORDER>(leds, NUM_LEDS);
  FastLED.setBrightness(2);  // 0-255 (50 = ~20% brightness)

  Serial.begin(115200);
}

int current_year_index = 0;

void loop() {
  fill_solid(leds, NUM_LEDS, CRGB::Black);

  // light up current year LED
  leds[32+year_index_to_led[current_year_index]] = CRGB::White;

  // check country for each LED and light up country on key
  for (int i=0; i<174; i++) {
    int country = year_index_and_led_to_country_index
                    [current_year_index][i];
    CRGB color = country_index_to_color[country];
    leds[61+i] = color;    // LED on map
    leds[country] = color; // LED on key
  }

  current_year_index++;
  current_year_index %= 29;

  FastLED.show();
  delay(2000);
}
Having the lookup table for all of the LEDs made writing the code really easy and quick, which was nice as I only had a weekend left to finish at this point.
Physical Construction
Once I was done with the design in KiCad and quintuple-checked it with the DRC (design rule check) I sent it off to JLCPCB to be manufactured and ordered all of the necessary parts. The final BOM can be found on the spreadsheet and below. I also added a stencil for the solder paste for an extra $7.00, as I have not done too much SMD stuff before and just placing 235 LEDs+capacitors already sounded like enough work.

I did have a little scare with the PCB accidentally being delivered to my neighbor's house and thinking the project was dead, but they very luckily returned it to us a few days later.
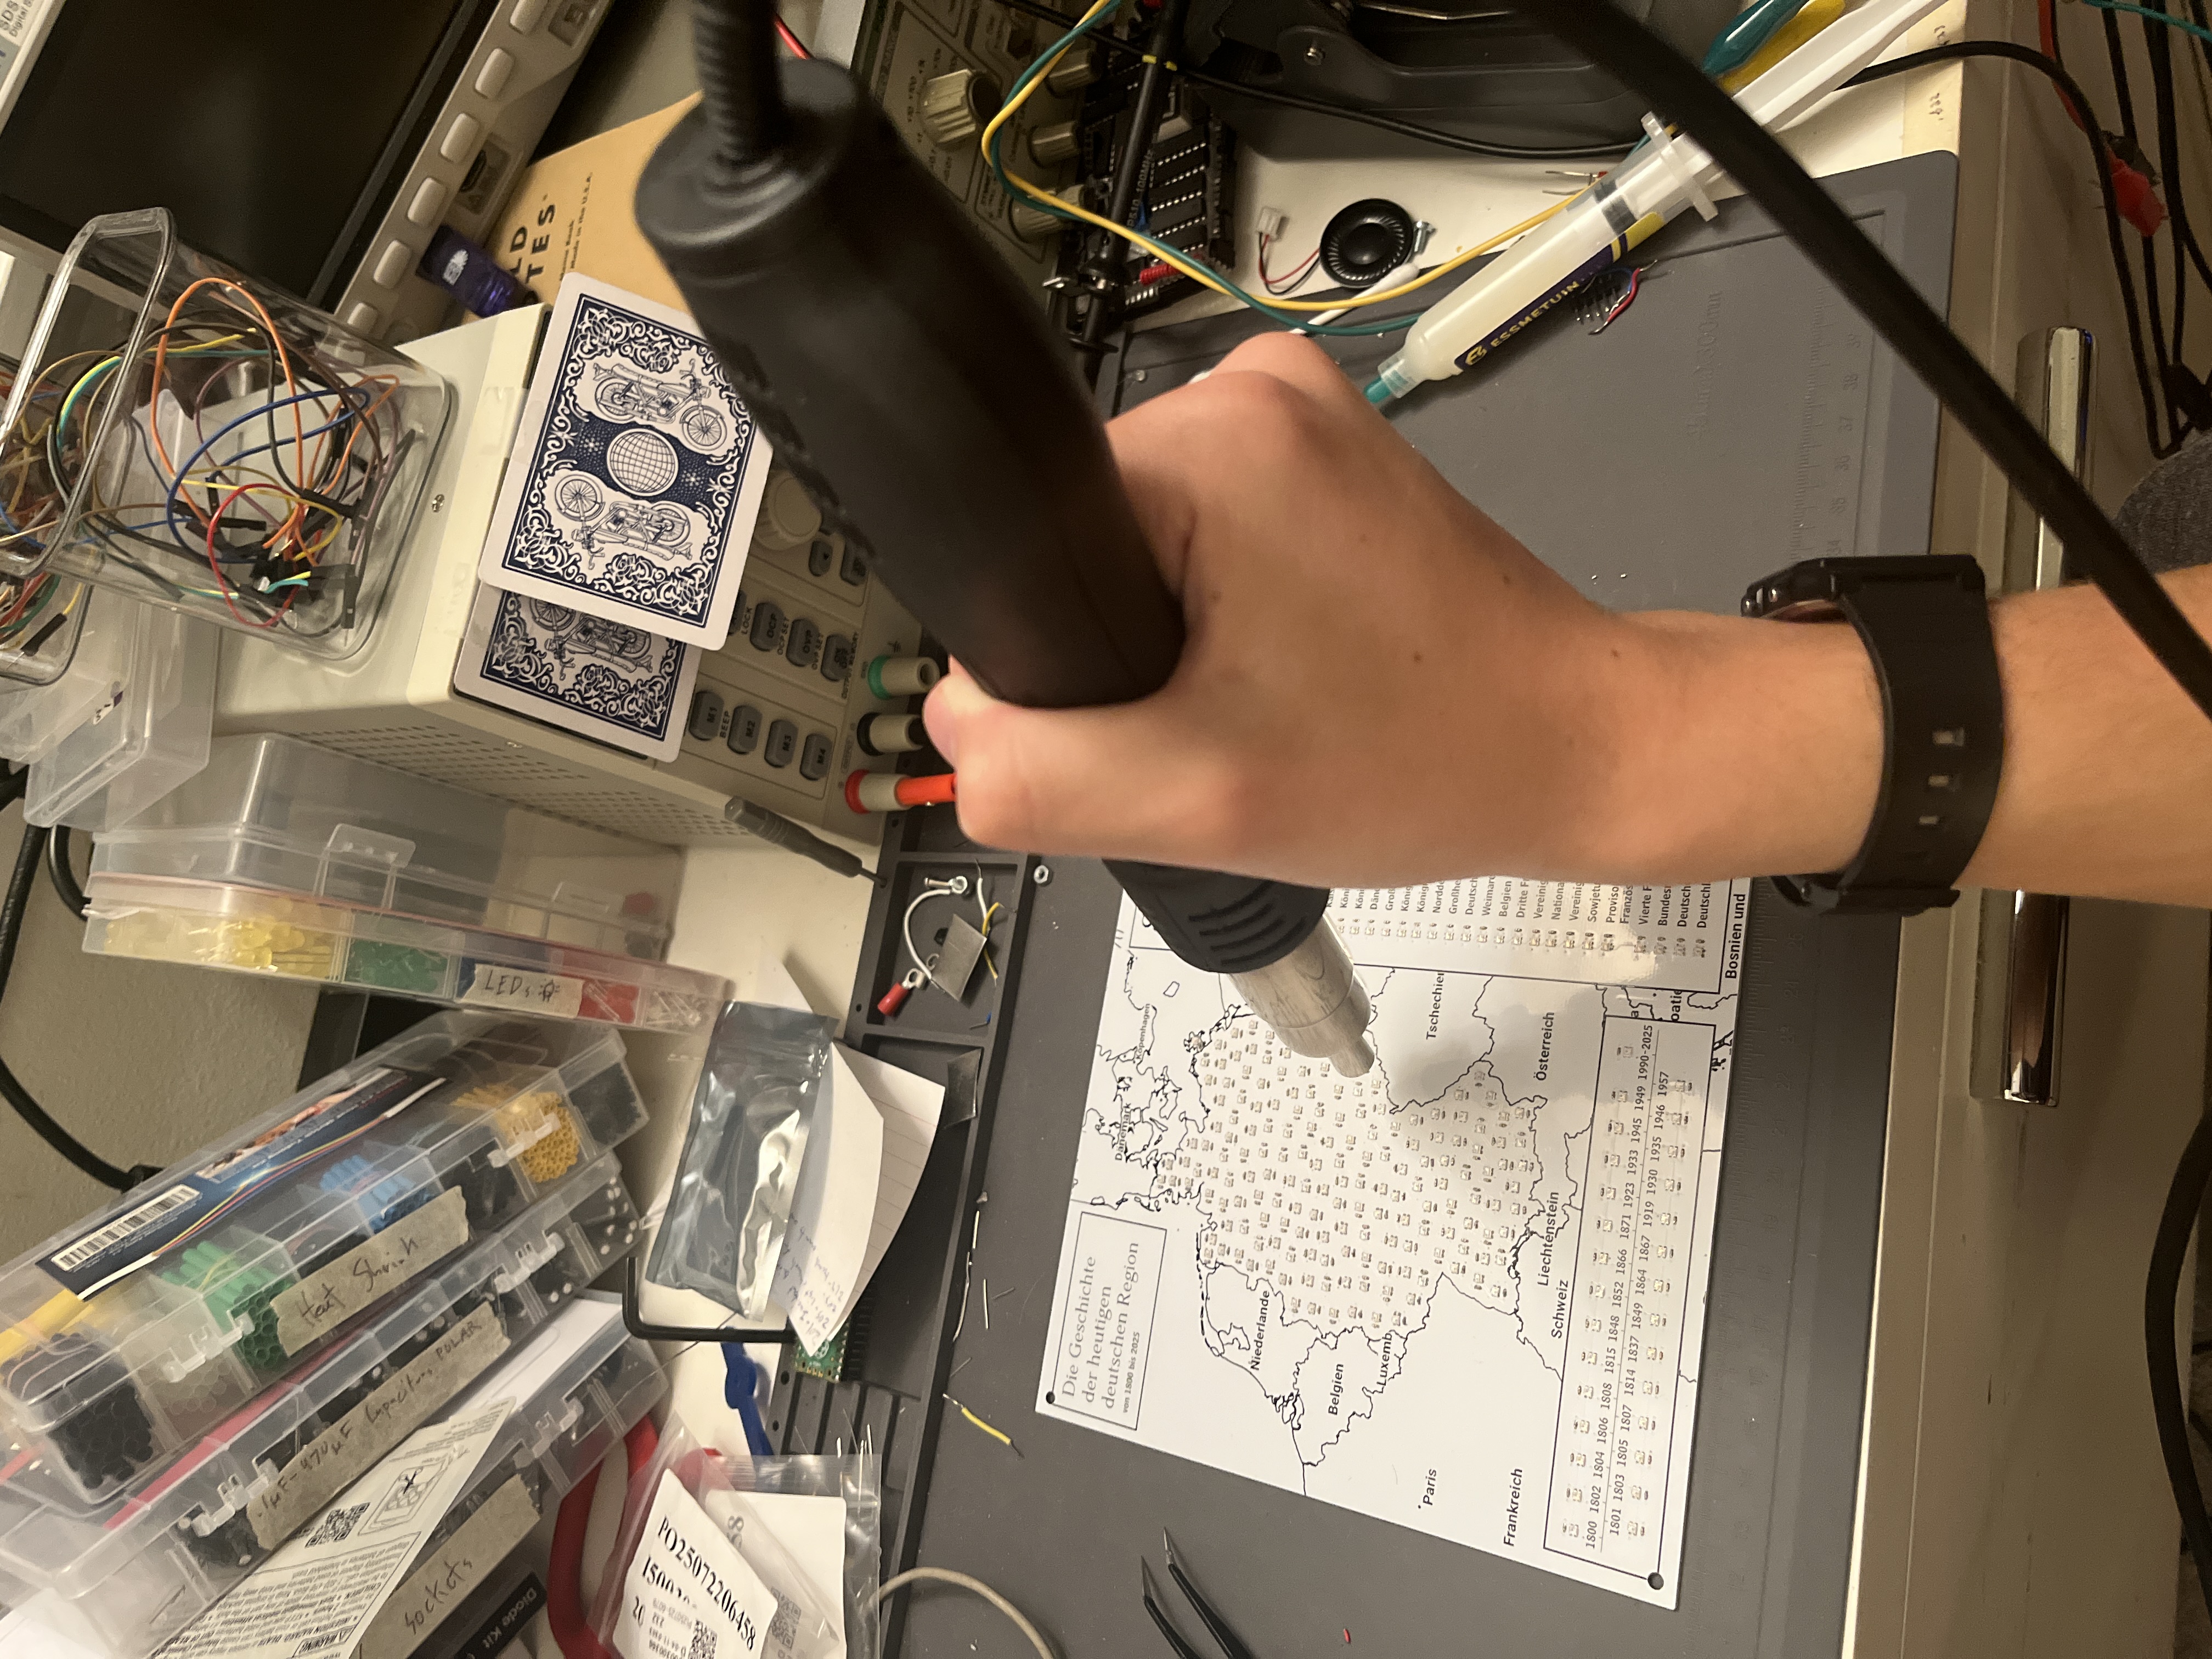
Once I got all of the parts together, I spread the solderpaste over the PCB with the stencil and placed all of the 2mmx2mm LEDs and 0402 decoupling capacitors (1mmx0.5mm!) down where they needed to go using a pair of tweezers. I had some trouble finding the specific datasheet for the batch of WS2812s I had bought (they had different ways of marking orientation) but was able to get the orientation right by looking at similar orientation markers on other datasheets and looking at mine very closely under my phone's camera to make out which pin seemed to connect to a ground plane.
Once everything was placed, I went over all of the components with my YIHUA 959D hot air rework station to solder everything down. The ESP32 was soldered to the back SMD style with a normal iron, which I thought was pretty neat as usually I've only done these THT (I didn't want to do any THT this time as to keep the front clean).
In order to test everything, naturally the first thing I tried to do was display some blinking Christmas lights (twas the season!). Very surprisingly, everything mostly worked correctly the first time! Some of the LEDs were blinking incorrect colors after bumping the board, but I narrowed the problem down to one of the LEDs in the chain not being completely soldered and fixed it with the rework gun.
Once everything was working alright, I wrote the code described above and tested out different colors until I got to something where you could mostly tell each region apart with the naked eye.
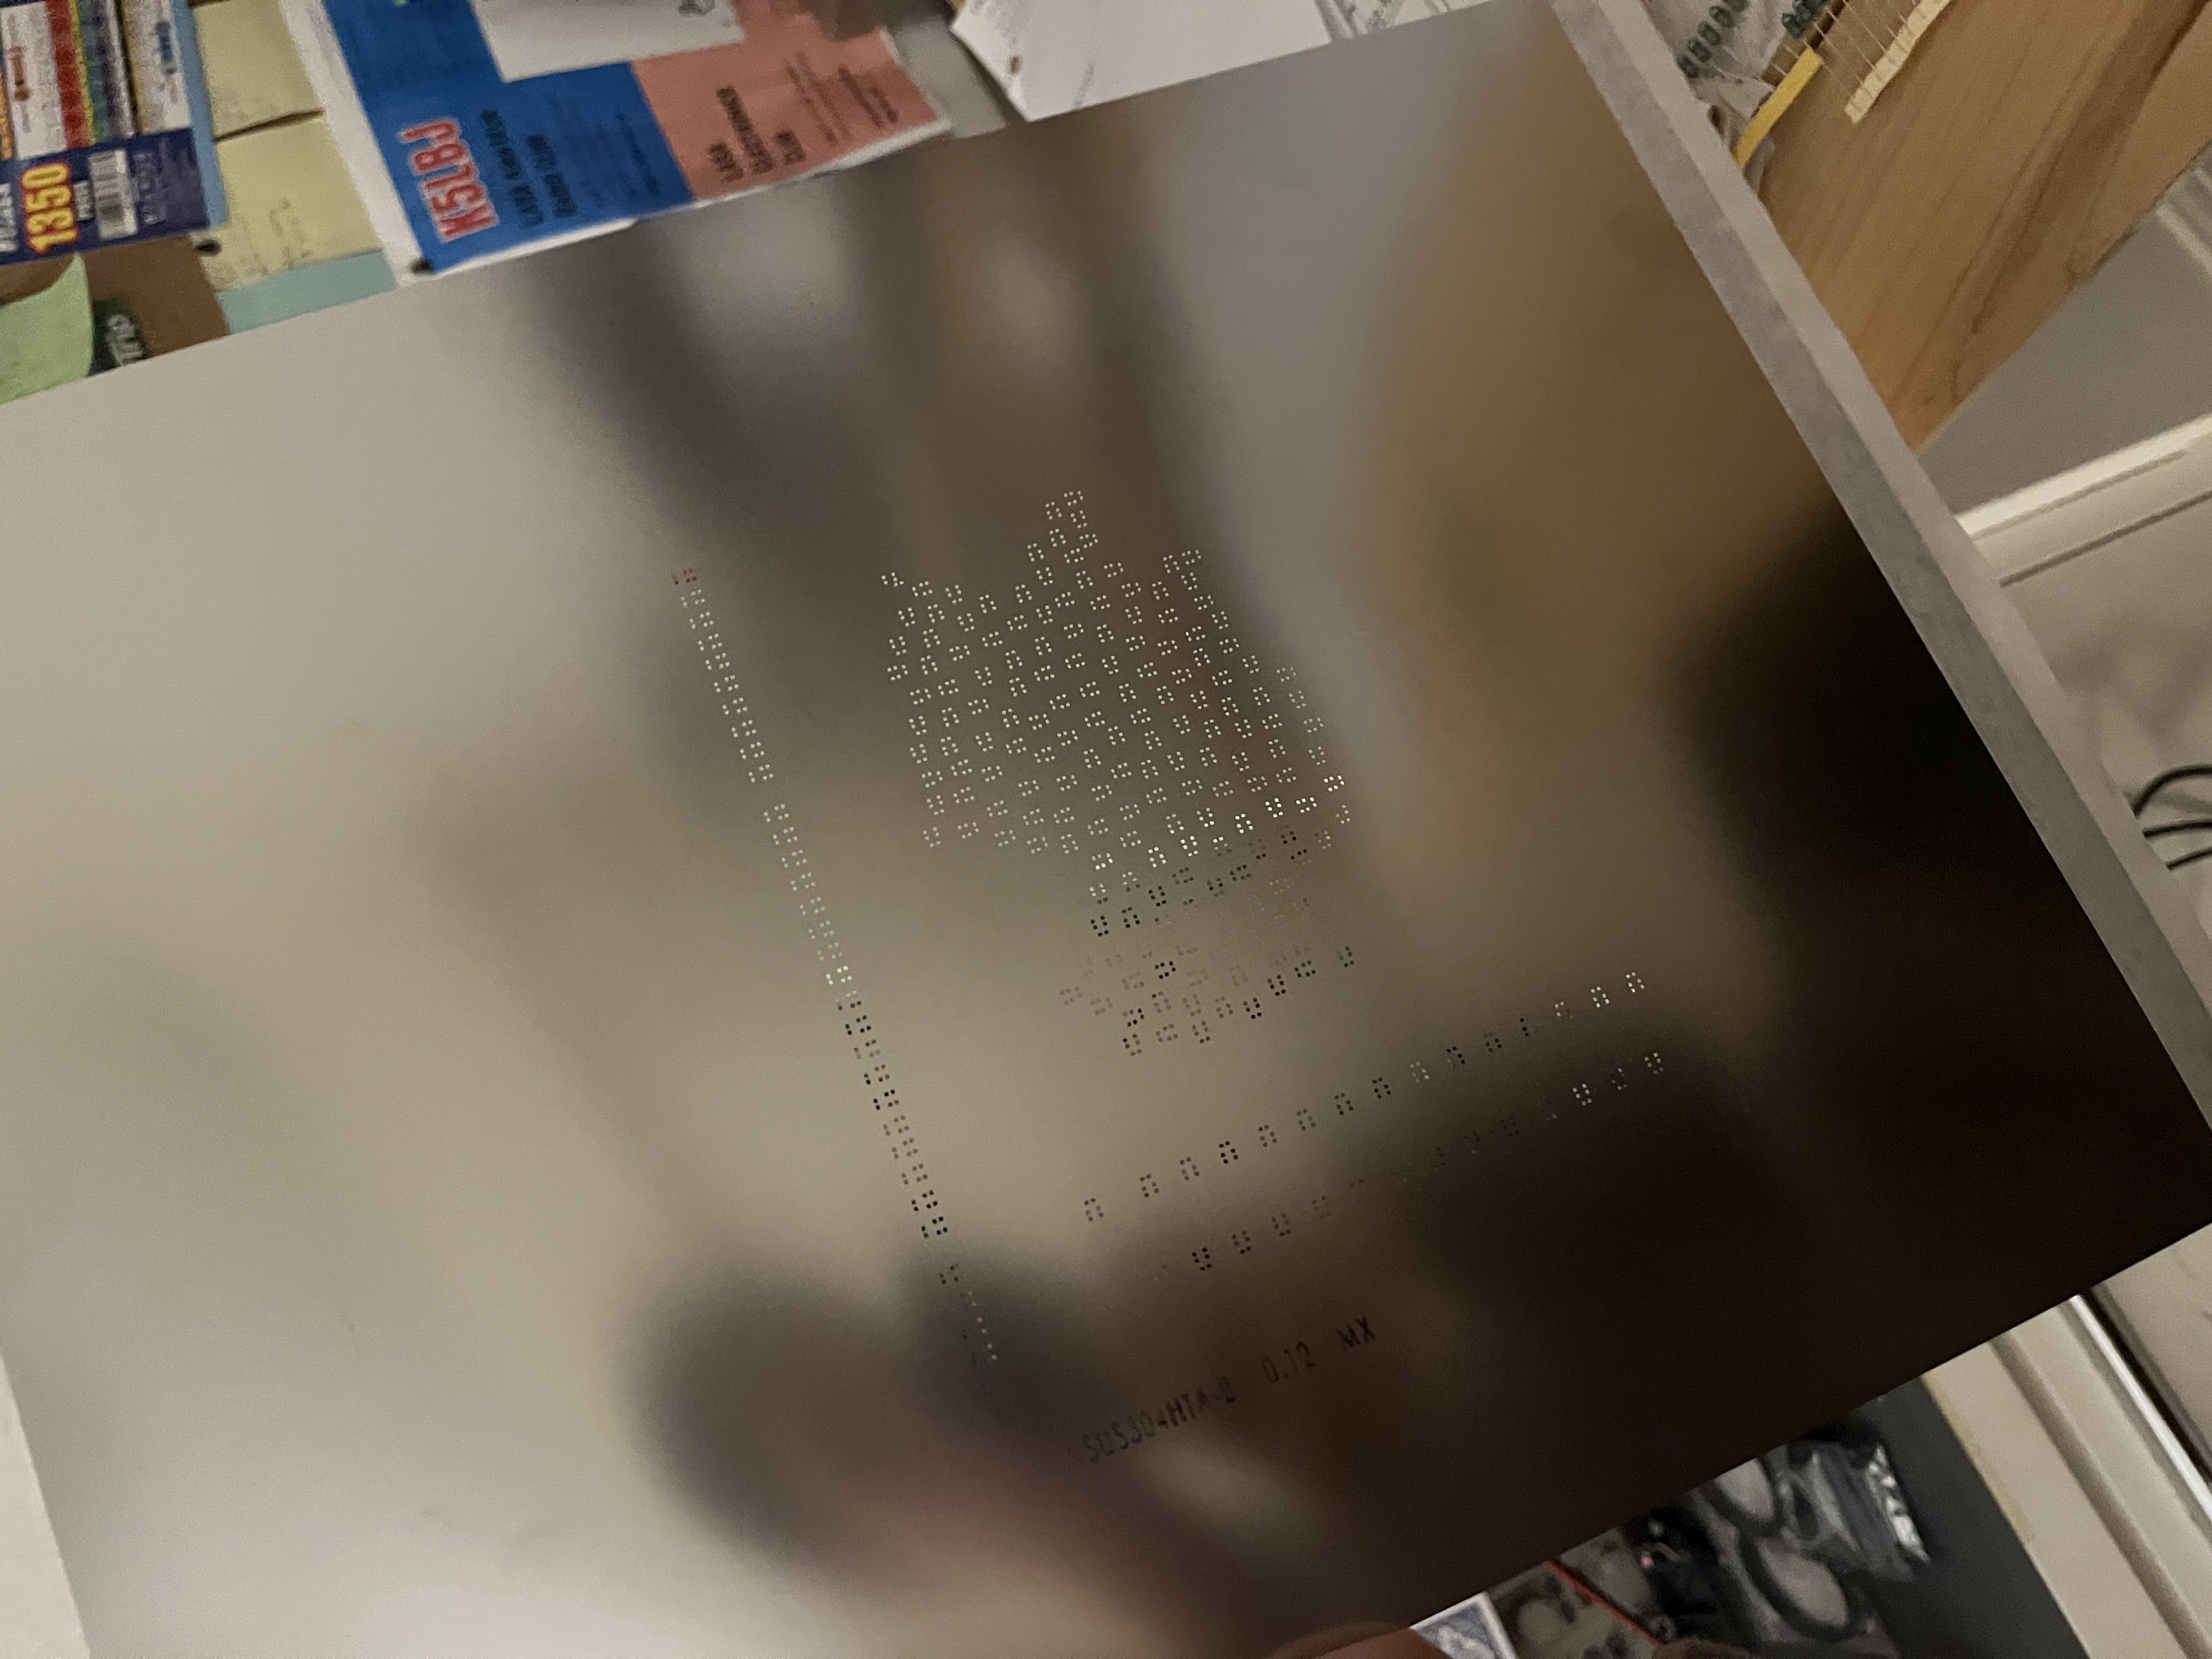 The solderpaste stencil
|
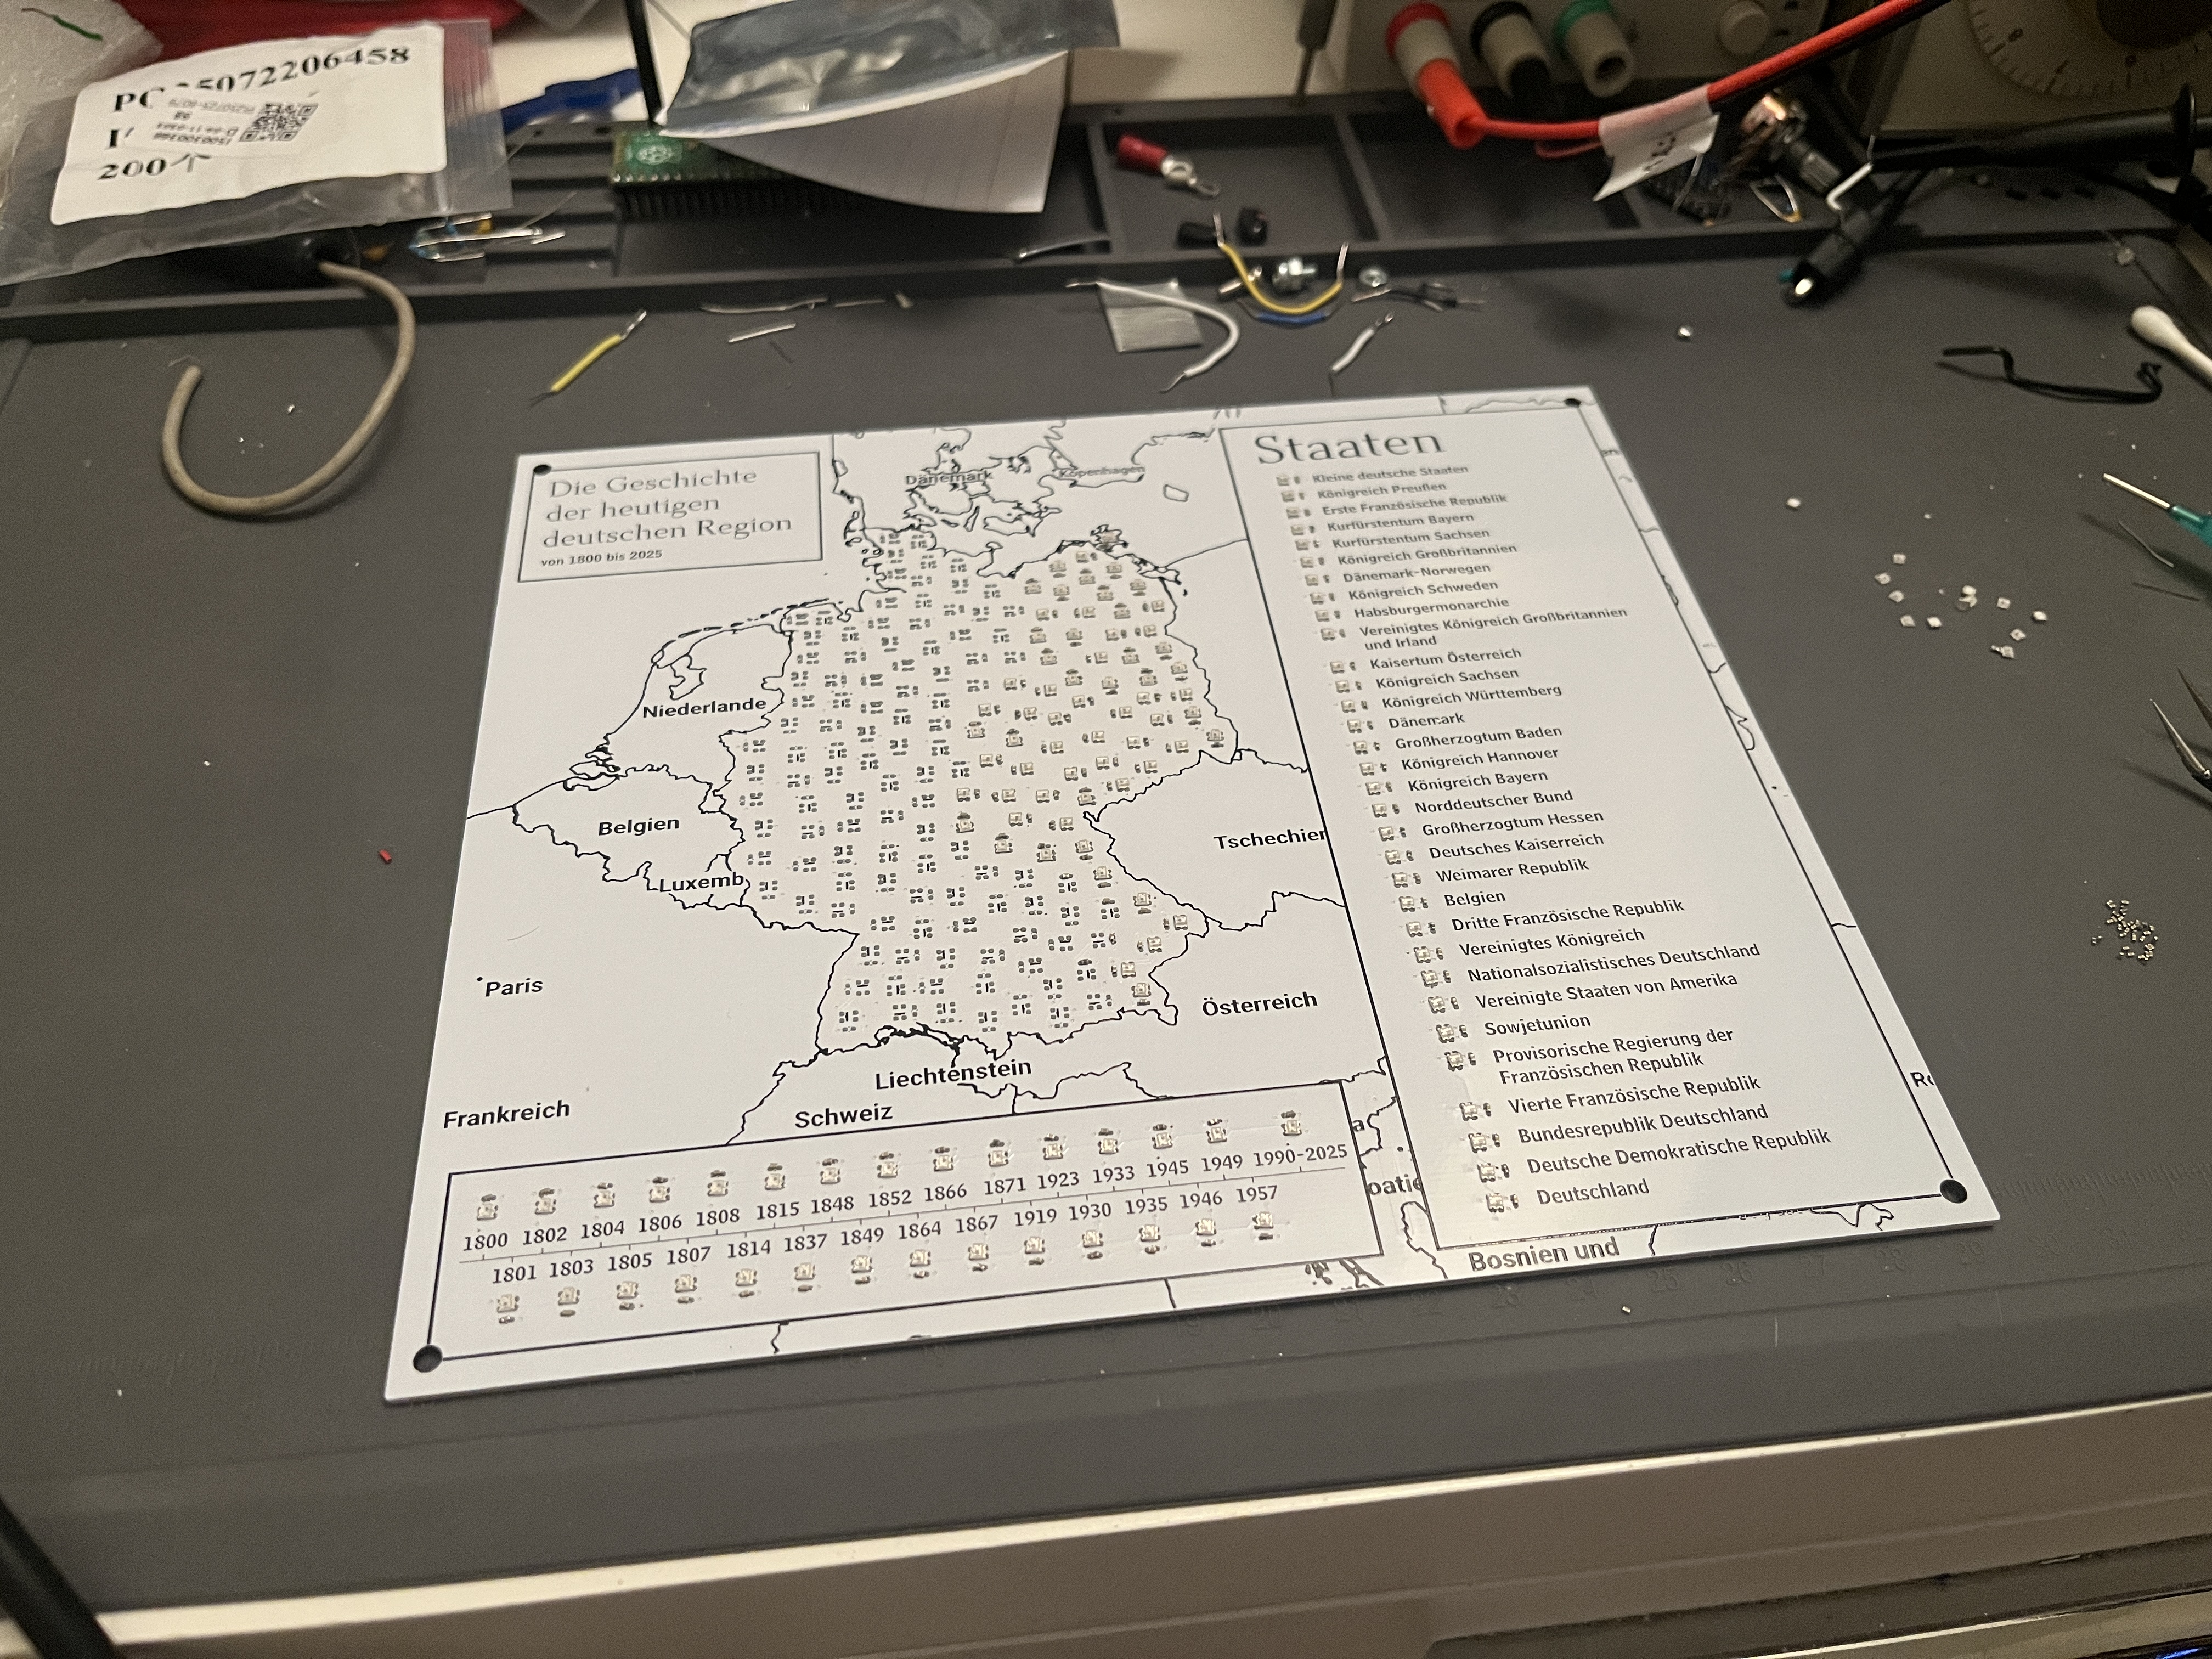 ~Half of the components placed
|
 Soldering with hot air
|
 First working full test with Christmas lights
|
Conclusion
This was a pretty fun project overall; the categorization did get a bit tedious, but otherwise everything else was interesting to work on.
The only major problem I realized too late was that the First French Republic should have changed to the First French Empire at some point, but I didn't have the First French Empire on the key, so I just had to keep it as is.
The project will not end up getting sent to Sprachfest for official competition as I decided I probably need to work on my actual German speaking skills over the next few months, as I am now in AP German and am feeling a bit behind. On a brighter note, one of my other good friends was also doing the craft category and we could only send one either way, so we'll still be sending something.
UPDATE: It will be sent to competition ^_^! I'm still not going in person or competing in other events, but my friend will be bringing it in and competing in other events (good luck if you're reading this!). Unfortunately we can't also send their craft (one per team), it was pretty cool =(.
UPDATE #2: It won 1st out of 6 competitors at regionals on 2/7/2026! We will be sending it to state which is the final level of Sprachfest competitions.
Honorable road trip mention
On the road trip I was designing this throughout, we stopped by White Sands National Park, and I was able to get a Parks on the Air activation with my G90 and a 20m quarter-wave vertical with 2 elevated radials on a 10m Spiderbeam mast. Almost all of the signal reports I got back were 59; it was such a neat place to activate!
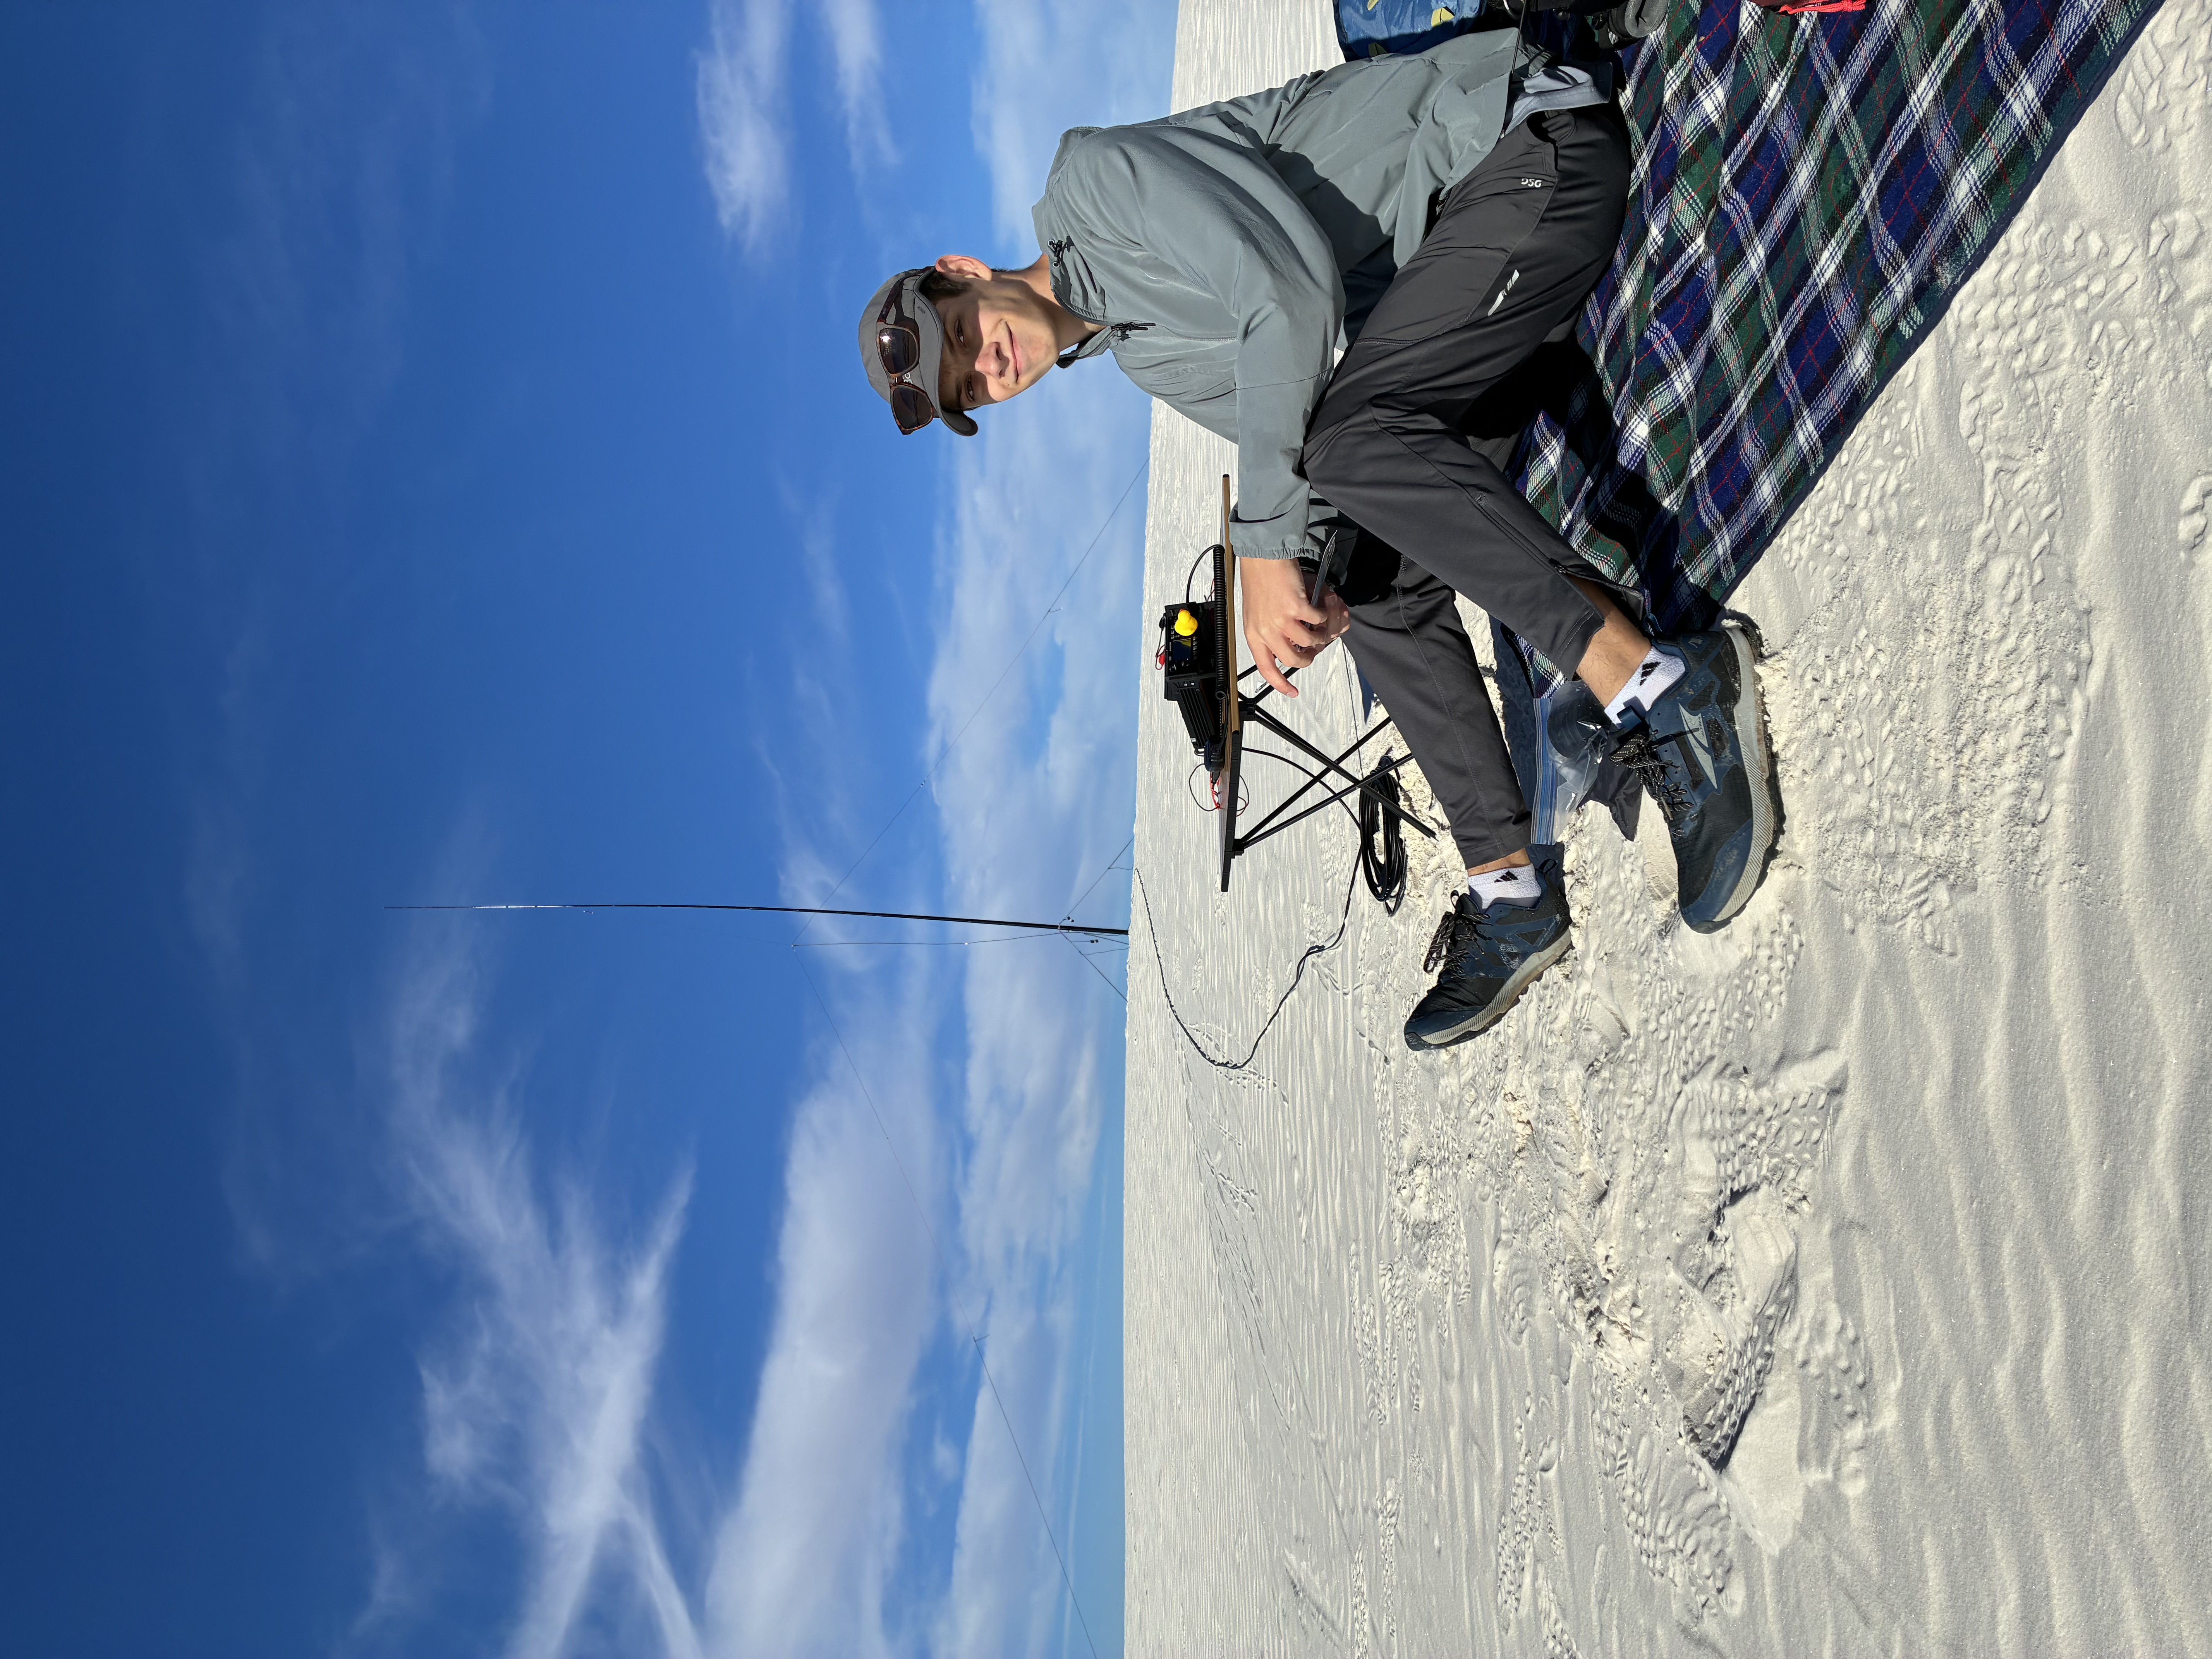 The setup
|
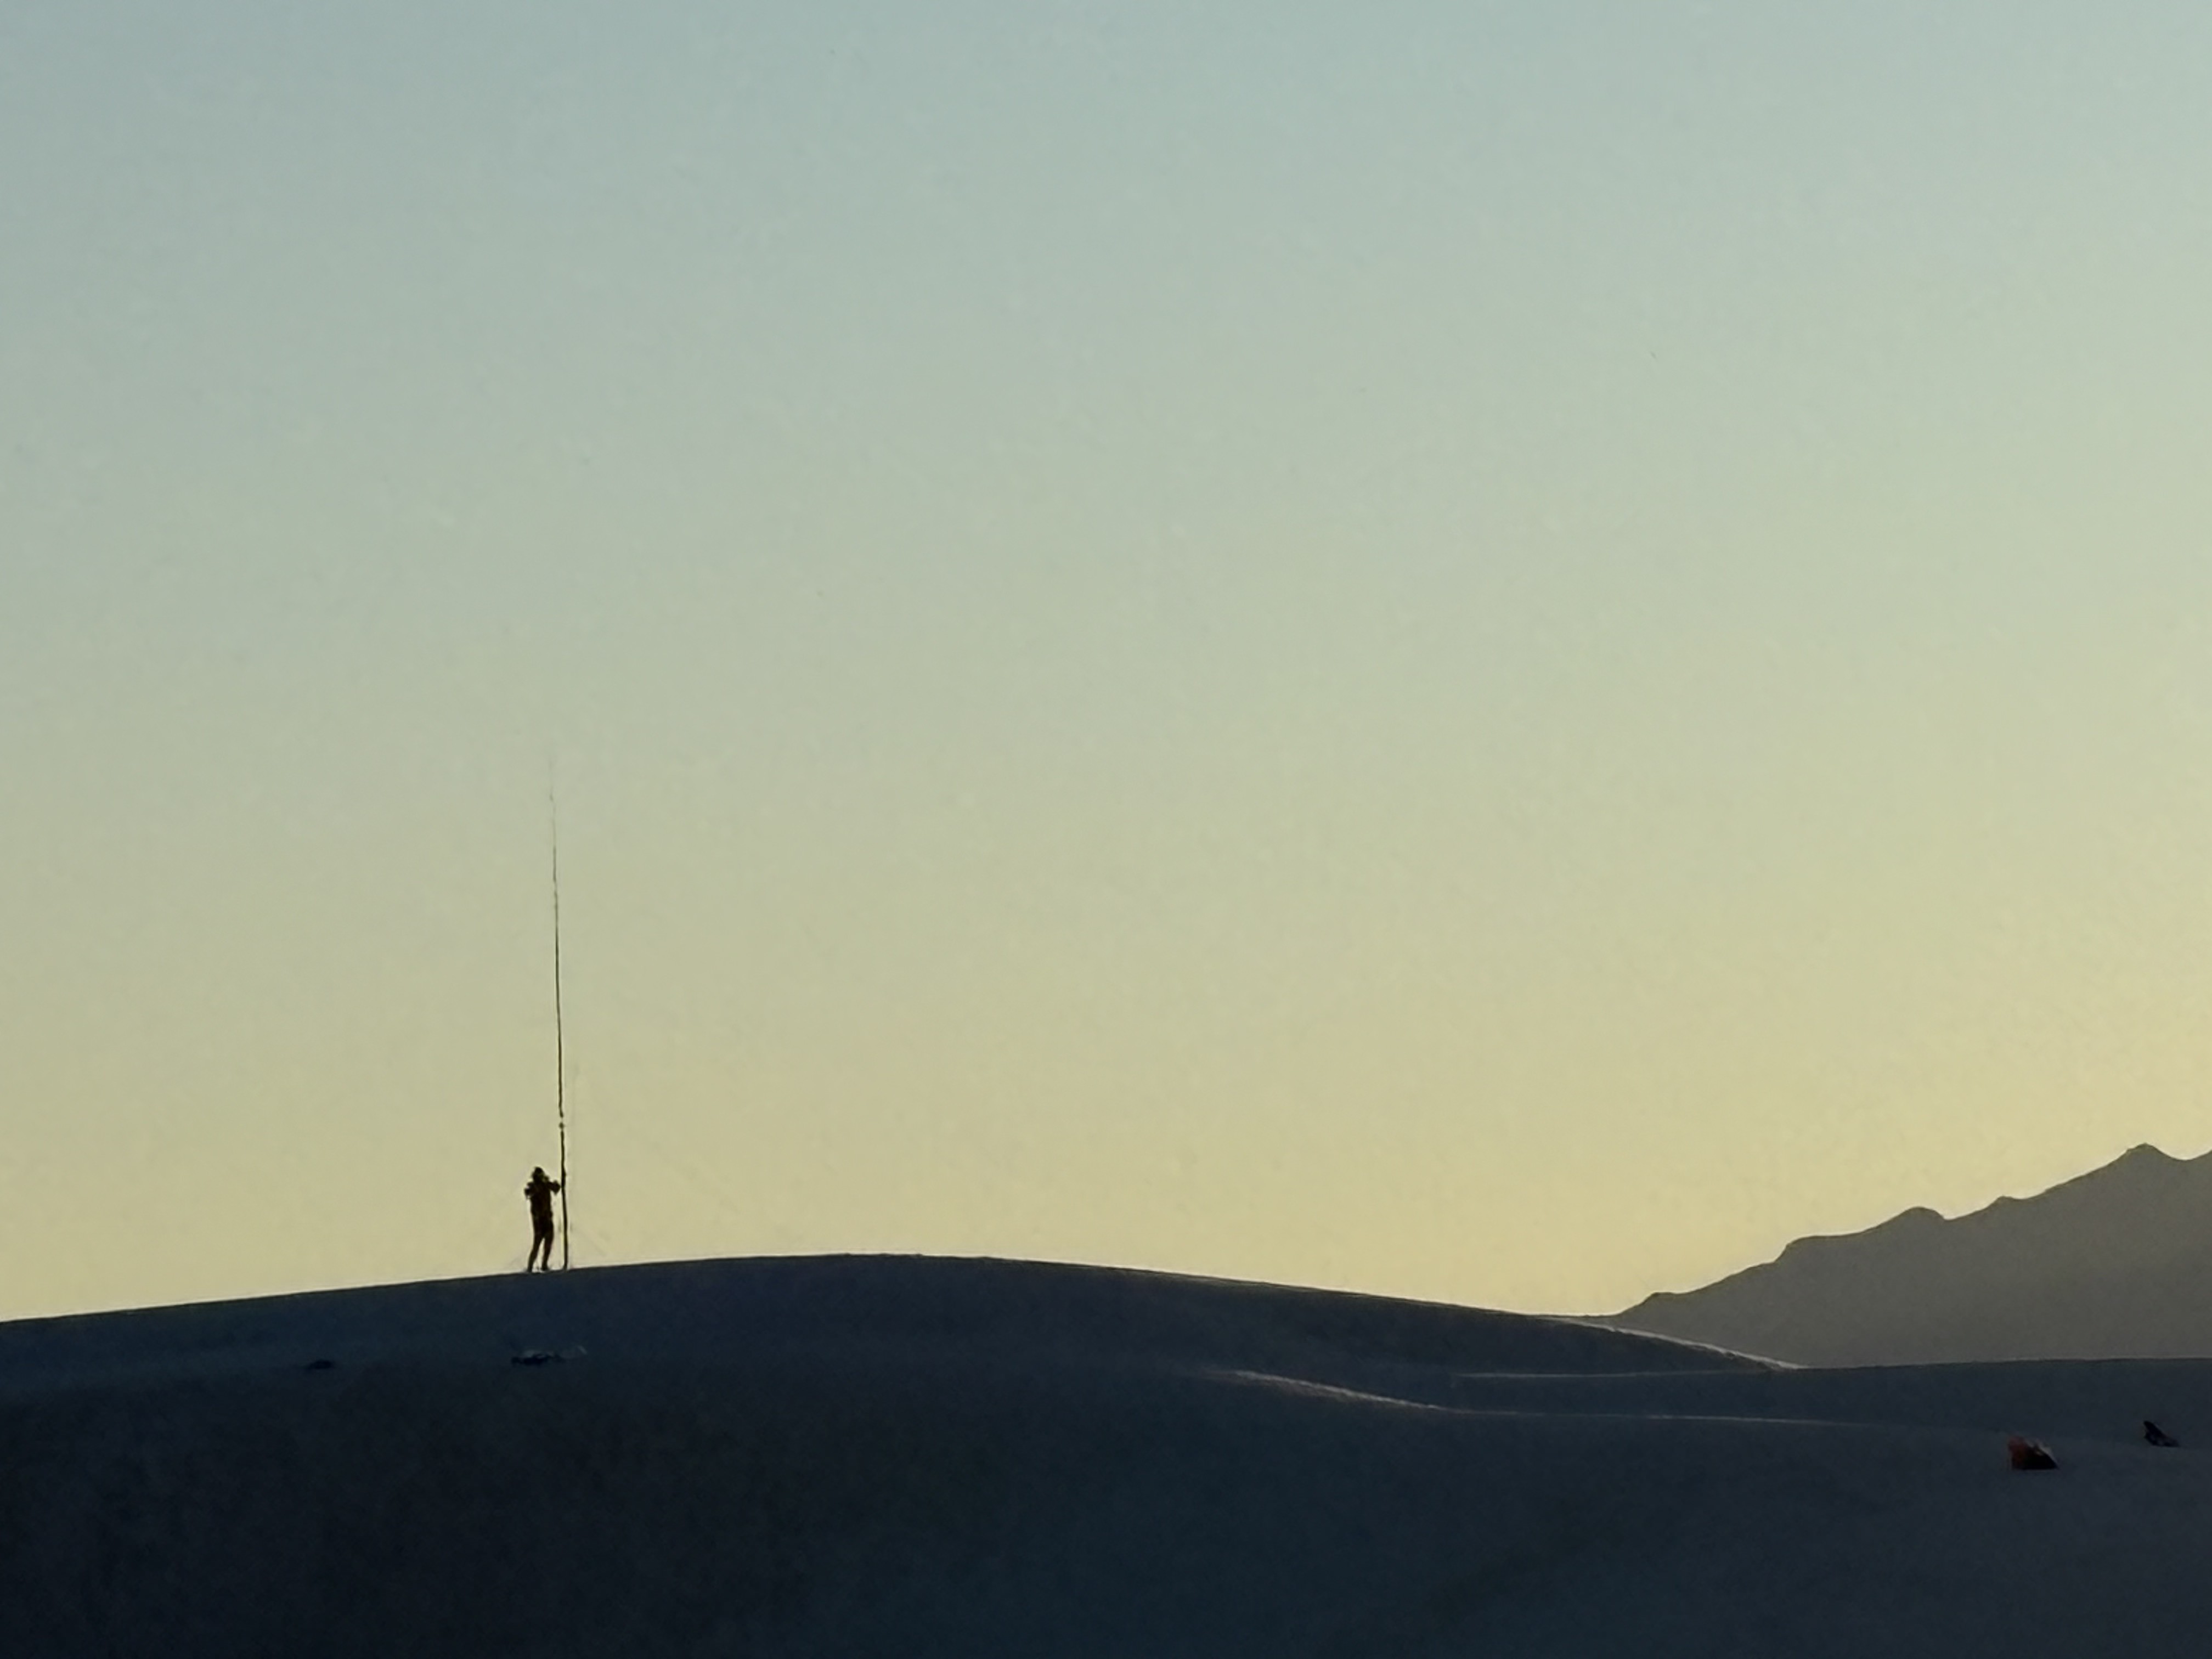 Photo my dad took while I was taking everything down
|
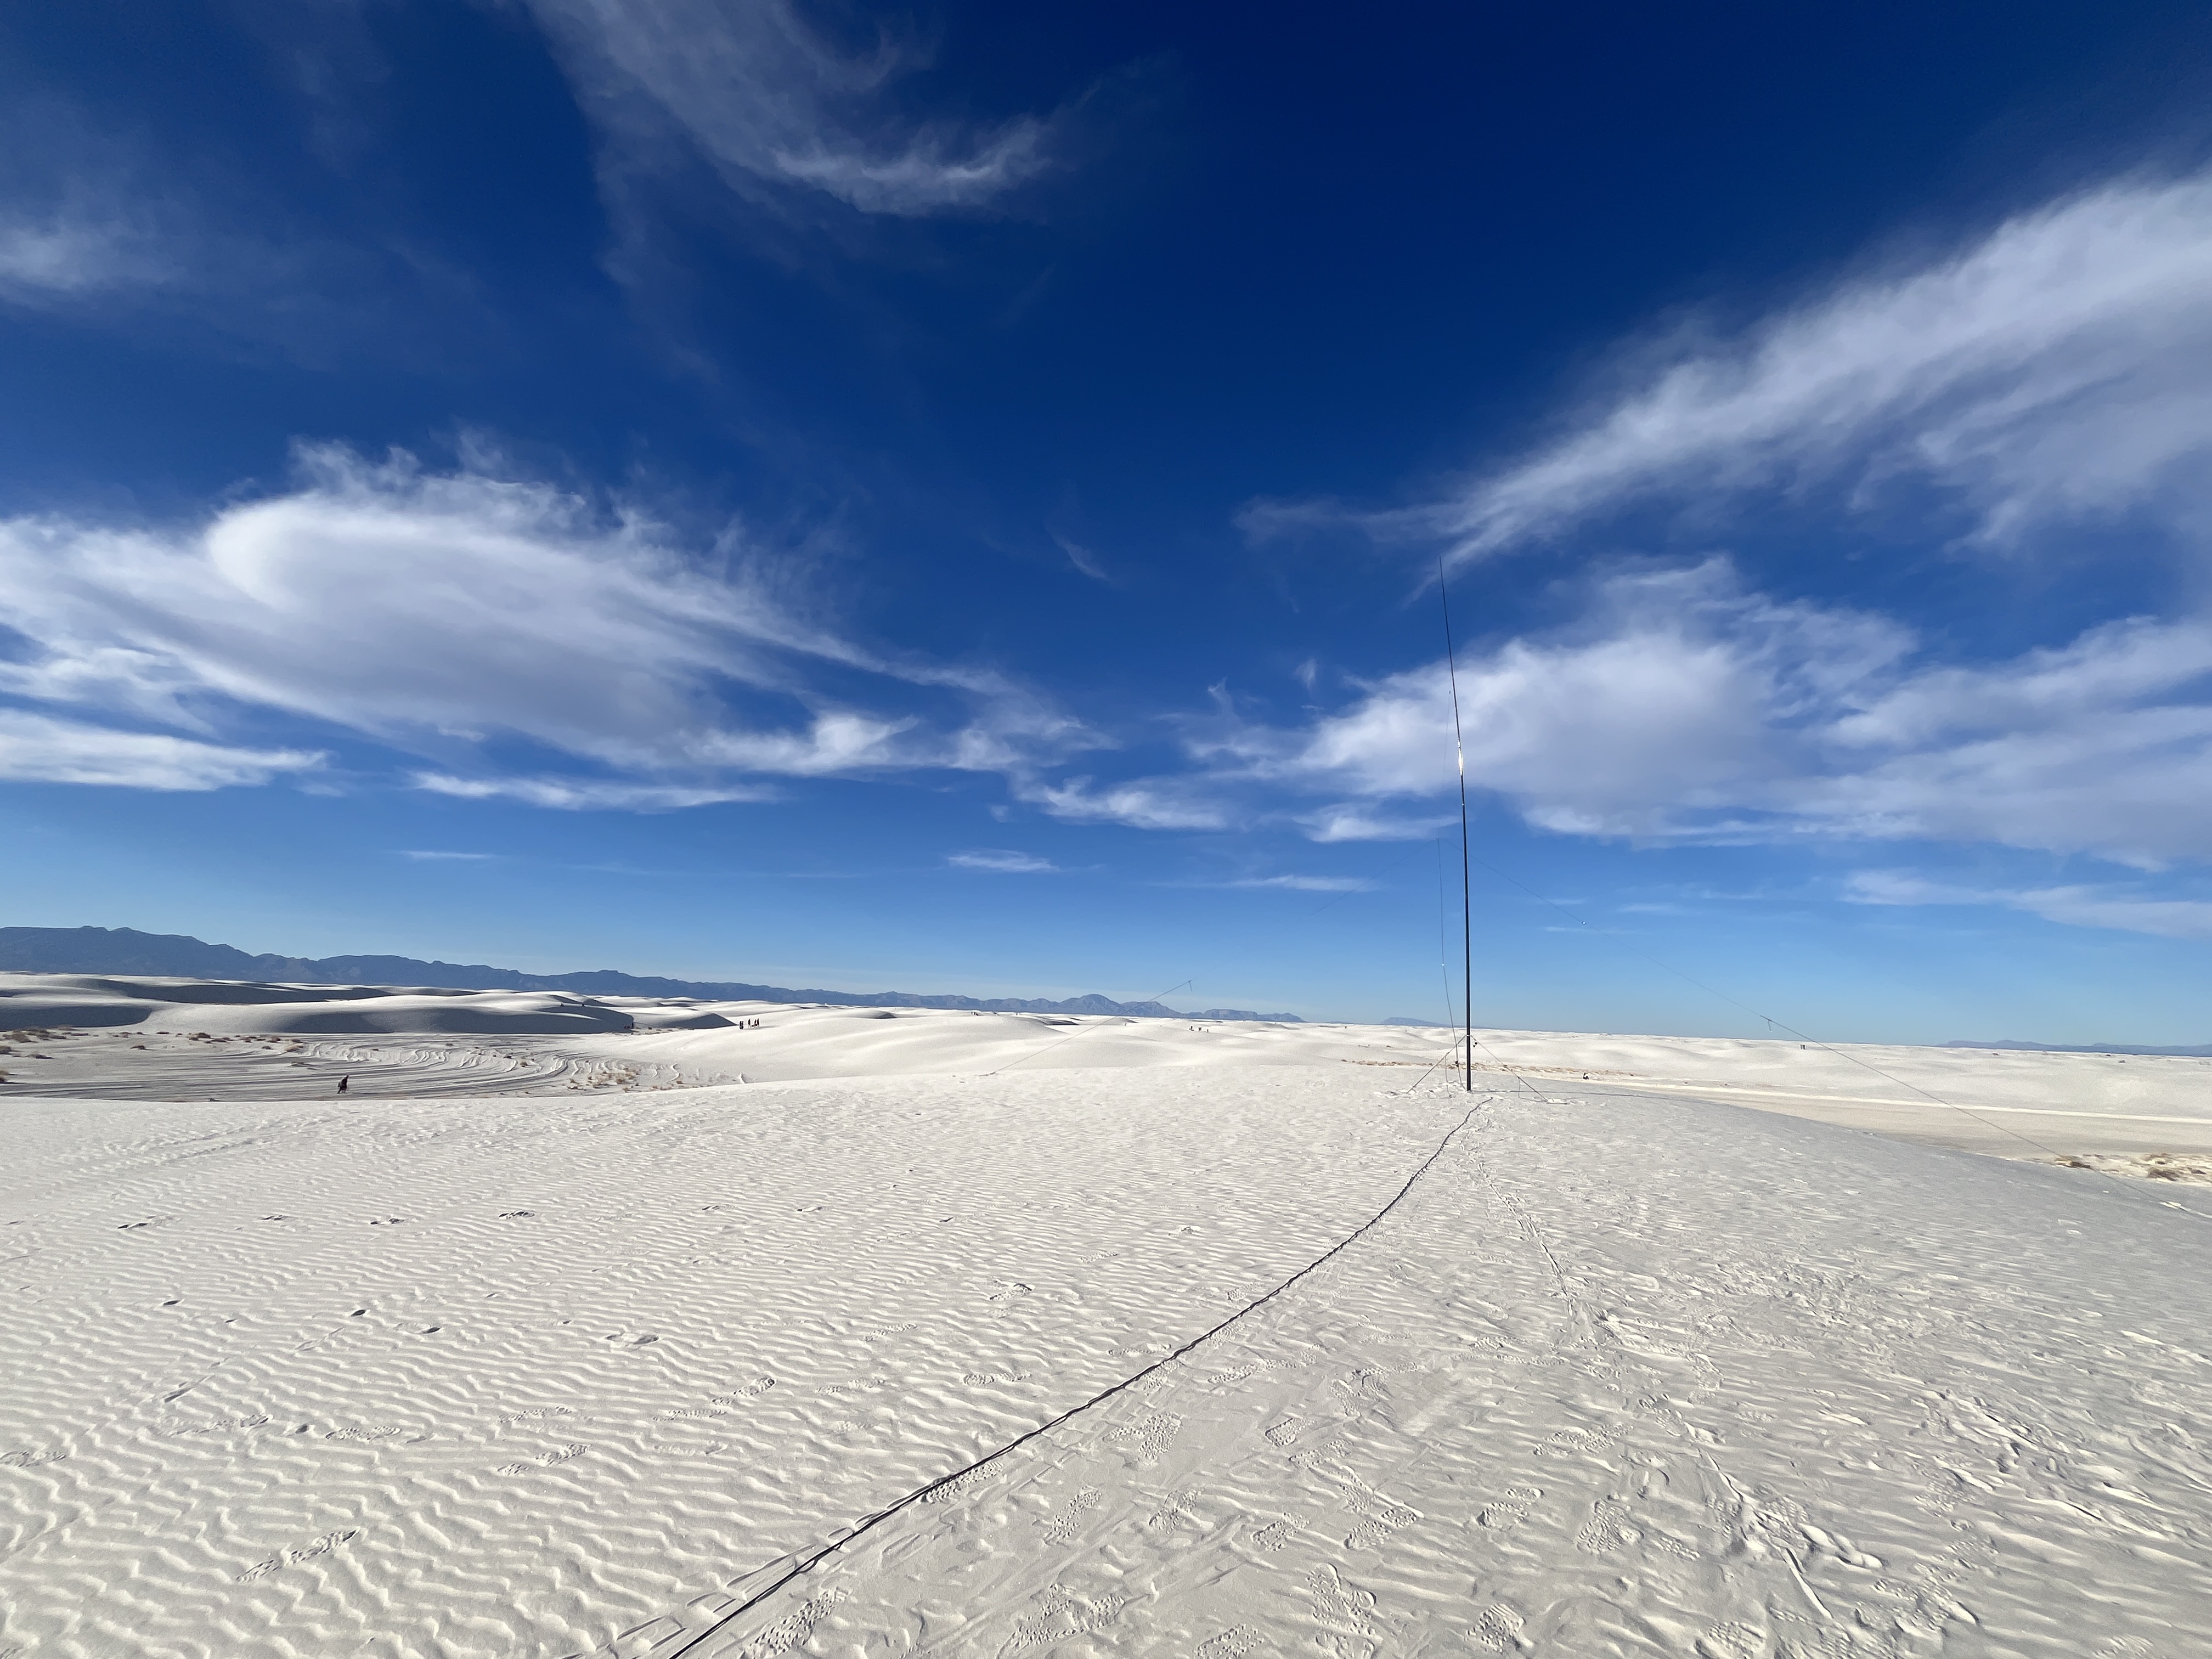 Overlooking the dunes
|
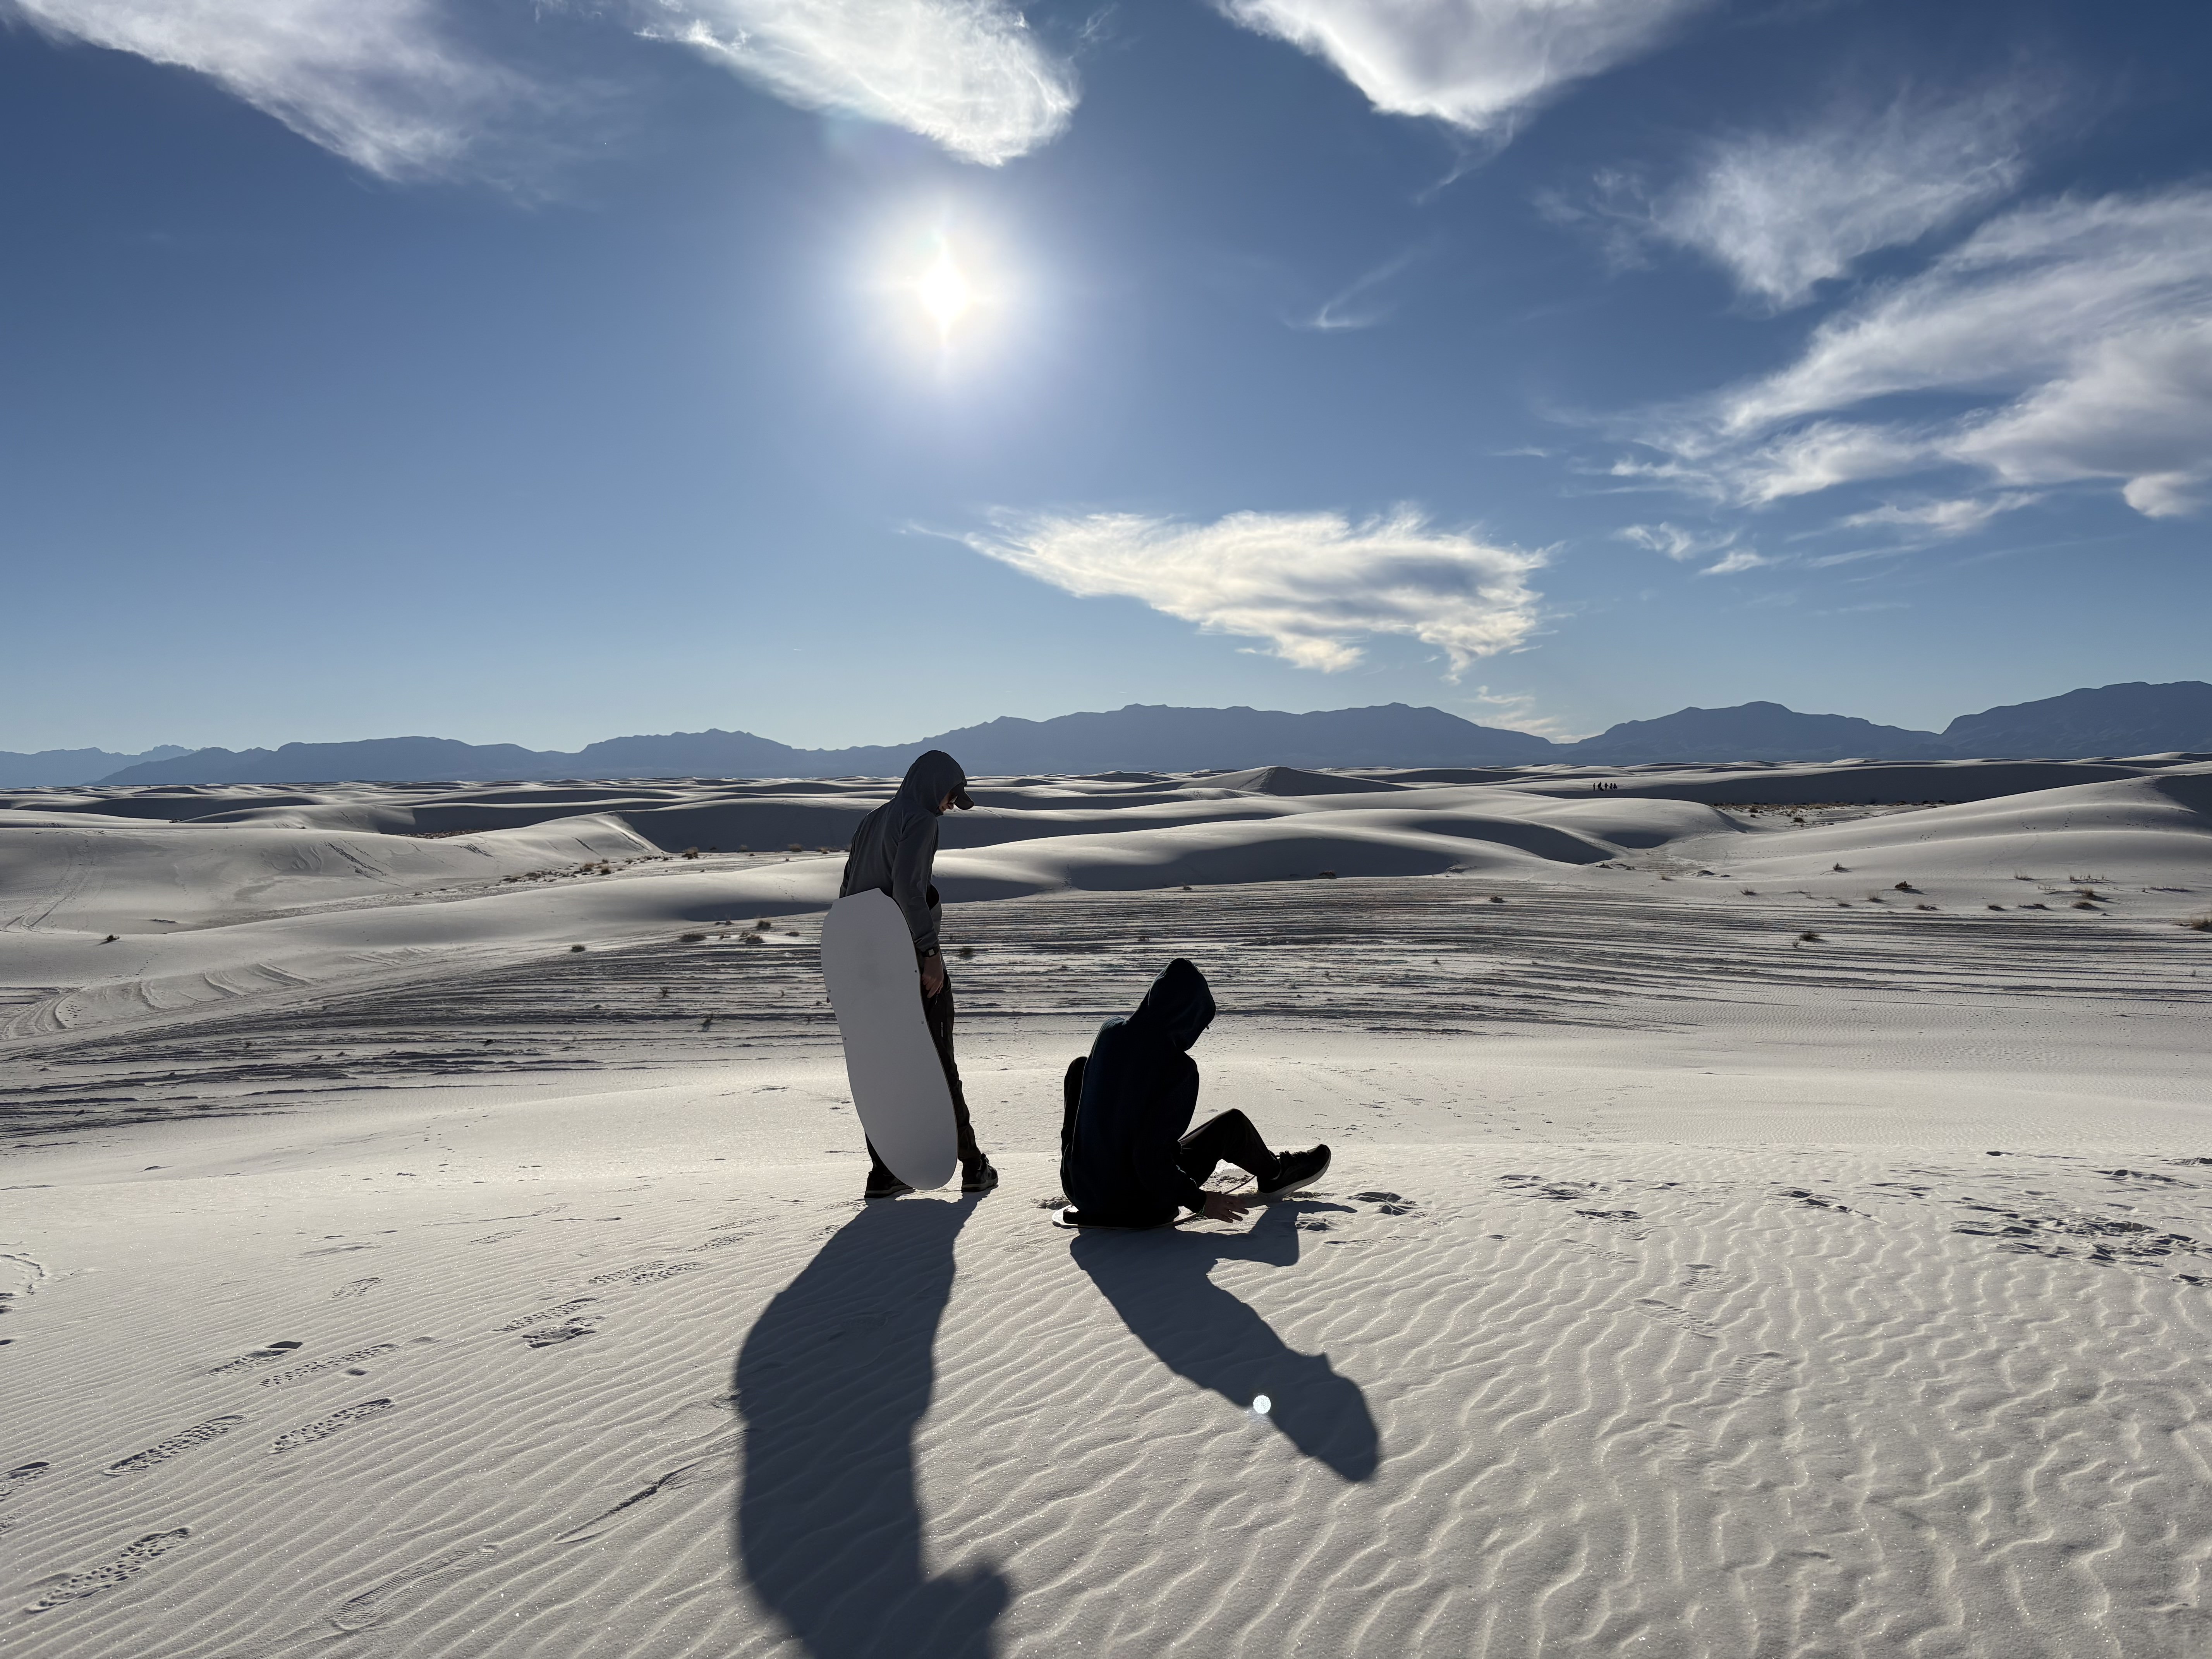 Boarding with my brother
|
Thanks a lot for reading, have a good day! :3
Comments
Post a comment:
Please don't spam the comments, I get a notification every time. Also please be mature (Nolan)
Message limit: 1500 characters, name limit: 100 characters